
Designing and 3d Printing a Tapecart Case
My #Commodore64 TapecartSD is in dire need of a case. I’m reluctant to use it like this in case I short something and kill my precious 64.
There’s no 3d printable file for this version of the Tapecart, so I thought I should make my own.

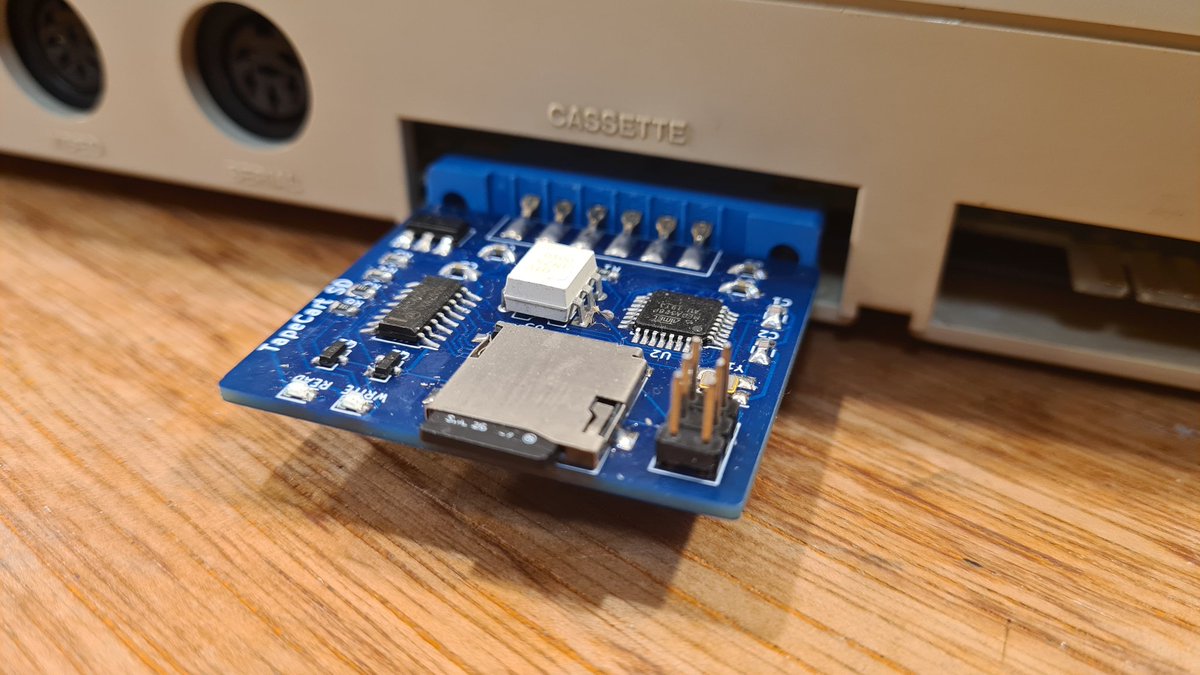

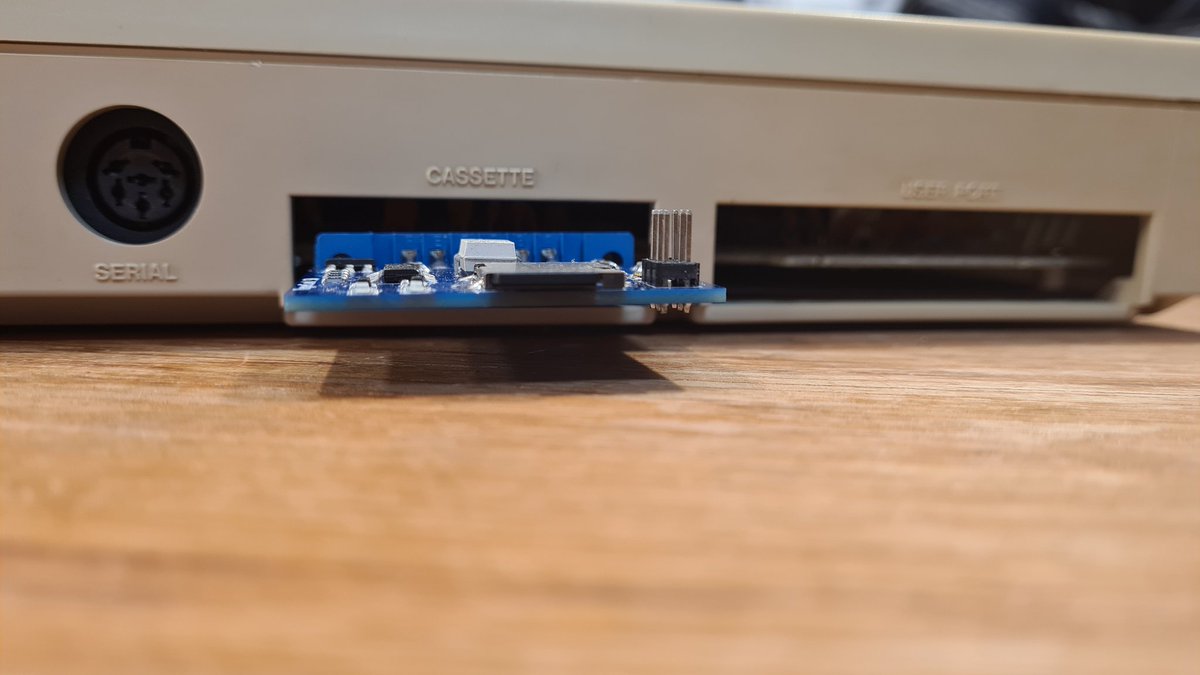
The cart has some unusual dimensions and no fixing holes. The 2 holes in the front of the connector are blocked behind by the board.
I plan to make a case that will fit around the connector with just pressure. I’ll also need to leave a hole for sd access.


One day I will learn a proper way to do this. But until I cant do what I want to with Tinkercad I’ll probably stick with it.
First edition. I ended up with 5 revisions of the base and 4 of the top


It took 3 base revisions to get the fit close. I’m currently printing a final one to give a better fit which I hope will eliminate a little of the slop.


Hopefully, these are the last versions. I could have gone for a tighter fit into the case of the C64 but the connector has a super tight grip on the edge connector, so I don’t think it really needs it.


Some fails. Part of the journey.
Each one takes about 30-40 minutes to print.

One more version after this. Added the name to the top of the case. But this is the version that’s too sloppy.
The two parts clip together with a ridge around the outside, but it’s not very strong. I’m happy to glue it. If I have to break it open I can just print another.


This one is a great fit. The insides are held perfectly.
Just one problem. I forgot to put the end edges back in so there are gaps. Looks like I’m printing another revision!


Im quite tempted to make the bottom layer with a pattern…

This is a really good print. I should settle here, but I’m going to print one more top out with the fancy pattern.


Very cool finish!
Would probably look even better printed on flat glass.
Originally tweeted by More Fun Making It (Lee) (@ZZleeZZ) on 22 September 2021.