
Gamecube Controller Restoration
Gamecube controller restoration thread anyone?

This came included with the NTSCJ console I bought from @PaddysPCBuilds. I took all the broken bits from him. The Gamecube doesn’t read discs and this controller looks like it was used outside on the surface of Mercury.

The caps on these are rubber. My theory is naturally occurring ammonia found on youth hands (ew) reacts with the rubber. Or rats ate it.

The buttons are actually reasonable. I’ll need to decide between the new ones, which are not quite the same colour on the red, purple and green, and cleaning the old ones…

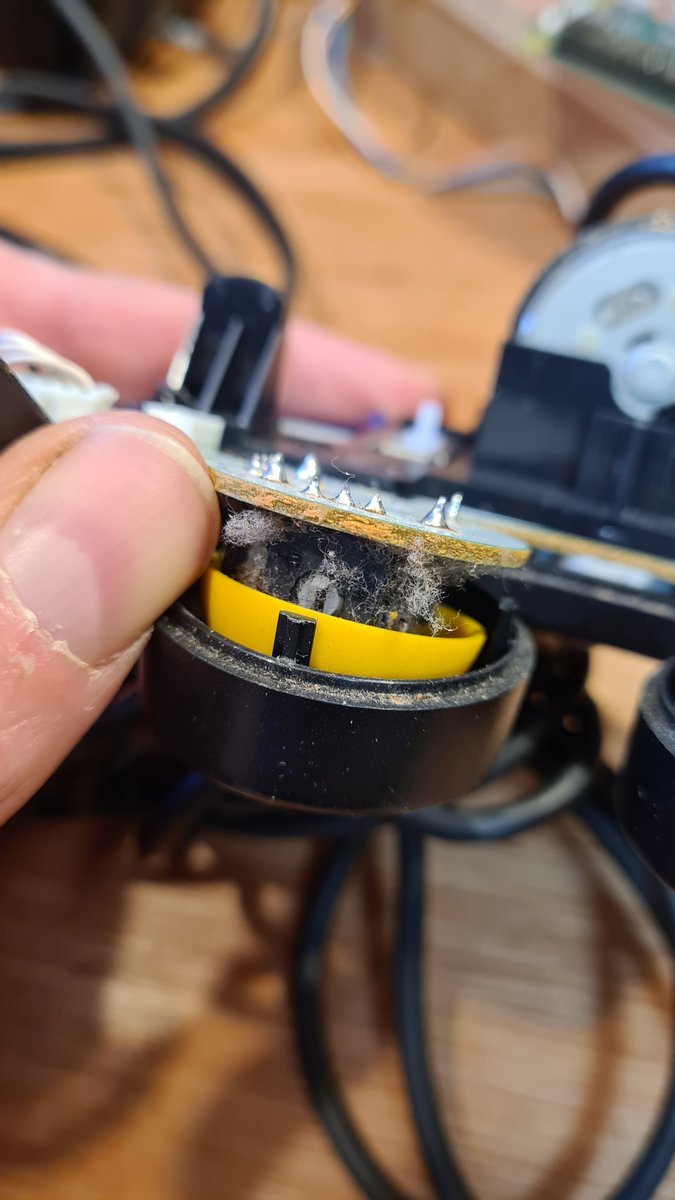
I regard the gamecube controller as one of the best I’ve used. I know its not for everyone, but I really love it. Its very well put together inside. The C stick had its own board.
Not too much grime here.

Hold the phone…
Is something nesting in there?
I’ve tested the controller and it functions perfectly. When I clean these with IPA I’ll need to remember to re-lube the mechanism with silicone grease
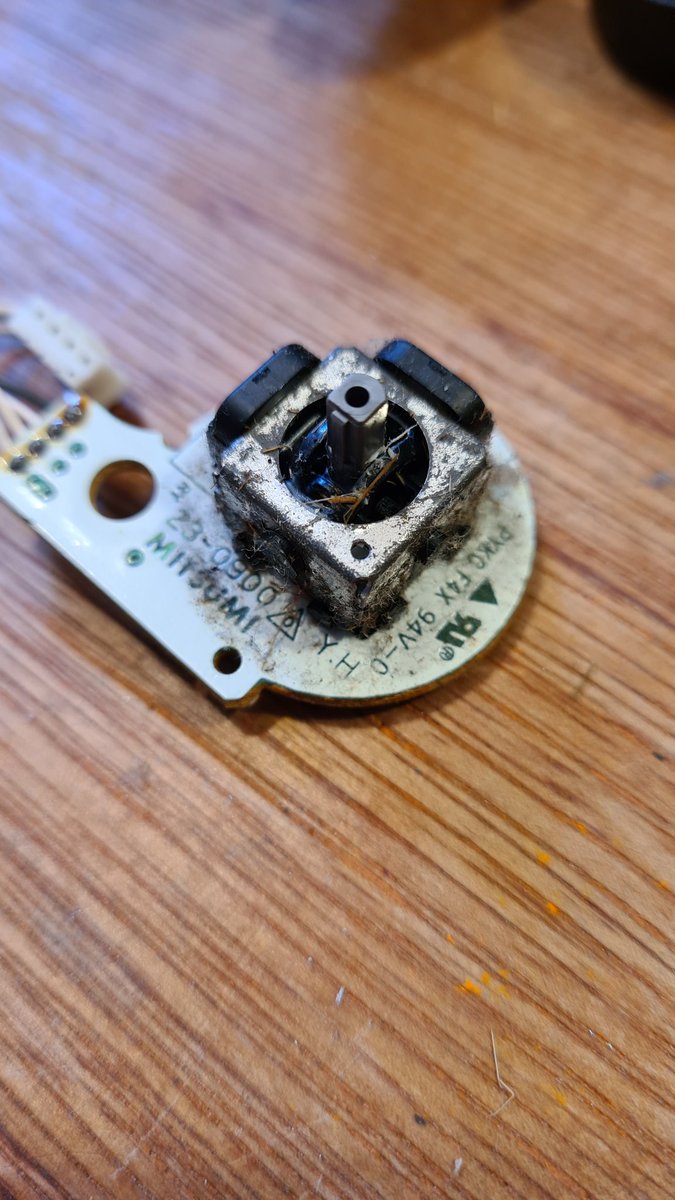

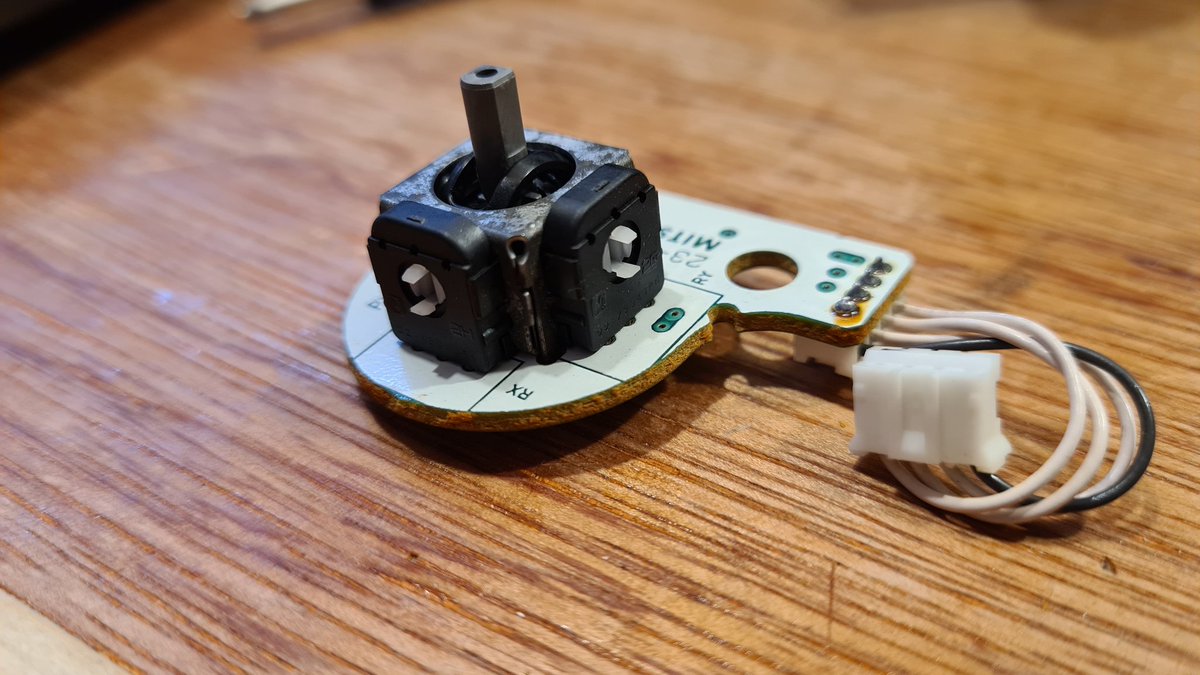
Cleaned. Also blasted with highly compressed air.
There’s corrosion on the metal, but I won’t be worrying about that. Rust doesn’t spread once you remove the cause and this won’t ever be seen

More ick.
Nothing important is corroded though so just a good clean needed
Wonder what’s hiding under that thumbstick..?


Filth is the answer.
That will need the treatment.


The new z button is on top here. Very different colour. Added to the metal flat spring is quite tight and I don’t fancy removing it. I’ll keep this old button…


Before and after.
Squeaky clean.


Inside the top shell is grin. I’ll soak this for a couple of hours to get rid of all the gunk.

Buttons out. Here you can see the colour difference. Be on the right. These ones I think I’ll change.

Shoulder buttons are really neat.
They need to come out so I can clean the bottom shell


A good soak
I’ll be back later with more!

After cleaning and a closer look I can see some evidence of what happened to the thumbstick. I think it must have lifted off, and someone tried to glue it back on. They were a bit messy with the superglue!
I need to try to make that like better.


Disaster! Something on my left on my magic eraser has reacted with the plastic! It’s gone white around the base. I’ll need to scrub the hell out of this with a fresh eraser.


Not bad. It will never look new without a new shell so I’ll have to be happy with this. The glue marks look better off camera

Triggers. The new ones are missing the plastic tabs where the wire hinge clips in. I’ll go with the old ones and a clean


They’re held in place with a plastic cover.
Makes getting all the other parts inside really easy

Buttons into the top shell. Along with the dpad

Sticks in place and the rubber contact pads over the relevant buttons.
Nearly done!

The main board dropped into the top shell. C stick daughter board drops into place next and is plugged in. See the sliders either side of the vibration motor? They need to be at the top before the back goes on.

All done. It looks and feels much better.


Last job was clean the cable.
Nice way to spend a couple of hours and a satisfying result.
Have a great day! 😁

Originally tweeted by More Fun Making It (Lee) (@ZZleeZZ) on 24 August 2021.