
Voxelab Aquila 3d Printer
It’s here!
This will be the start of a build thread. I don’t think there’s much mileage in recording the build, but I’m happy to share the adventure on here.


Sound advice and a promising start.

This printer is packaged superbly. I’m seriously impressed.

Really nice instruction booklet. Mostly the English is pretty good.
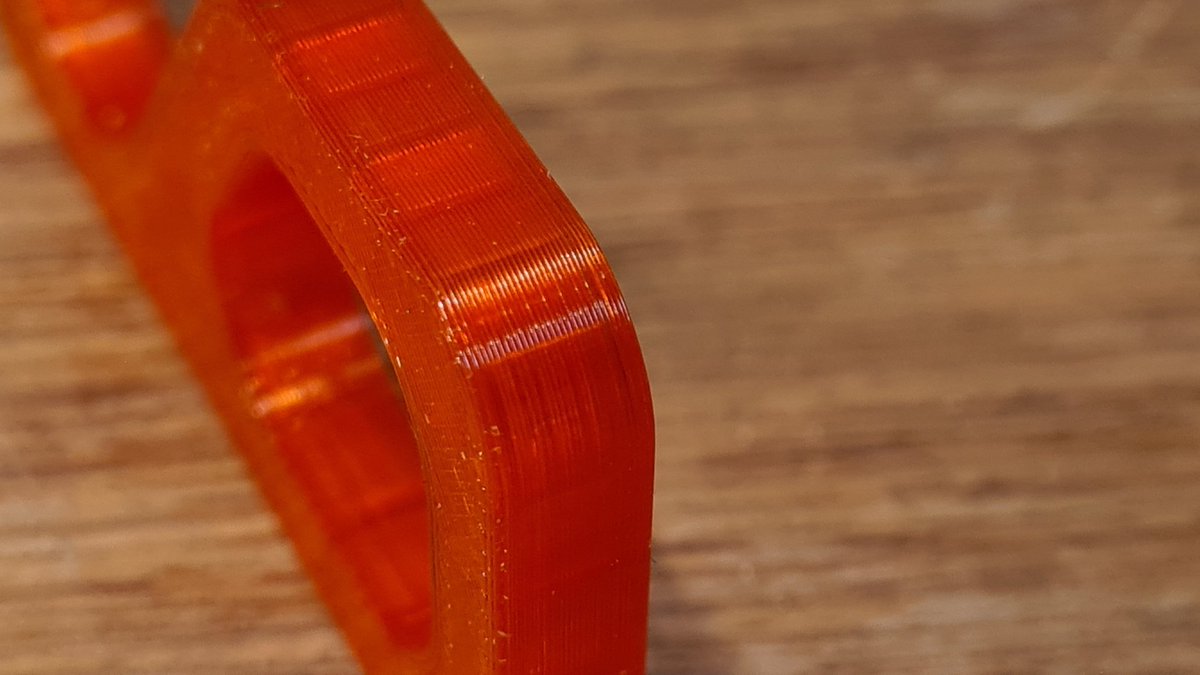
The obligatory free filament sample…
Transparent red! Interesting…

Screen, screen holder and the a couple of stepper motors. It’s all very well made, I’m constantly impressed at this stage.

More unpacking.
The second layer.
A usb card reader with an 8gb card.
Some lovely extruded aluminium.


More parts.
I’ve come from what considered one of the worst printers, the Anet A8, to this. This is a different level to what I’m used to.
When I built the A8 I spent weeks printing parts just to make it work properly!


One of the major criticisms laid at this printer was the bed fixing protruded which left an air gap. They fixed it!
I was ready to file down the bolts.
Another plus.

My first minor gripe.
If you’re going to cut the trails off tie wraps use flush cutters and don’t leave a stabbing point.
This drew blood


First job is the upright sections.
They need to be square to the bed. Very easy to fit.
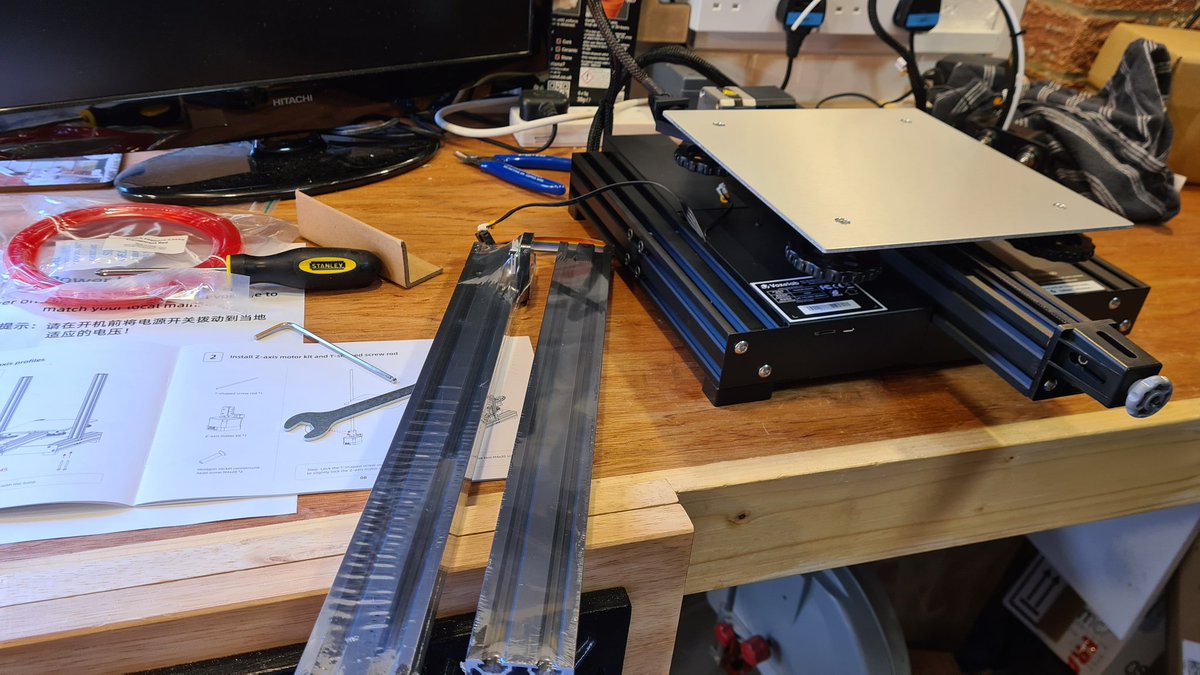


They also need to be the same distance apart at the base and the top.
Perfect


Next the Z motor and its screw.
Again, really simple and straightforward


I tripped up in the next section. This belt needs to be fitted in with its surrounding parts in a certain order.
All of that went well.
Where the belt is attached I put the ends in the wrong way up

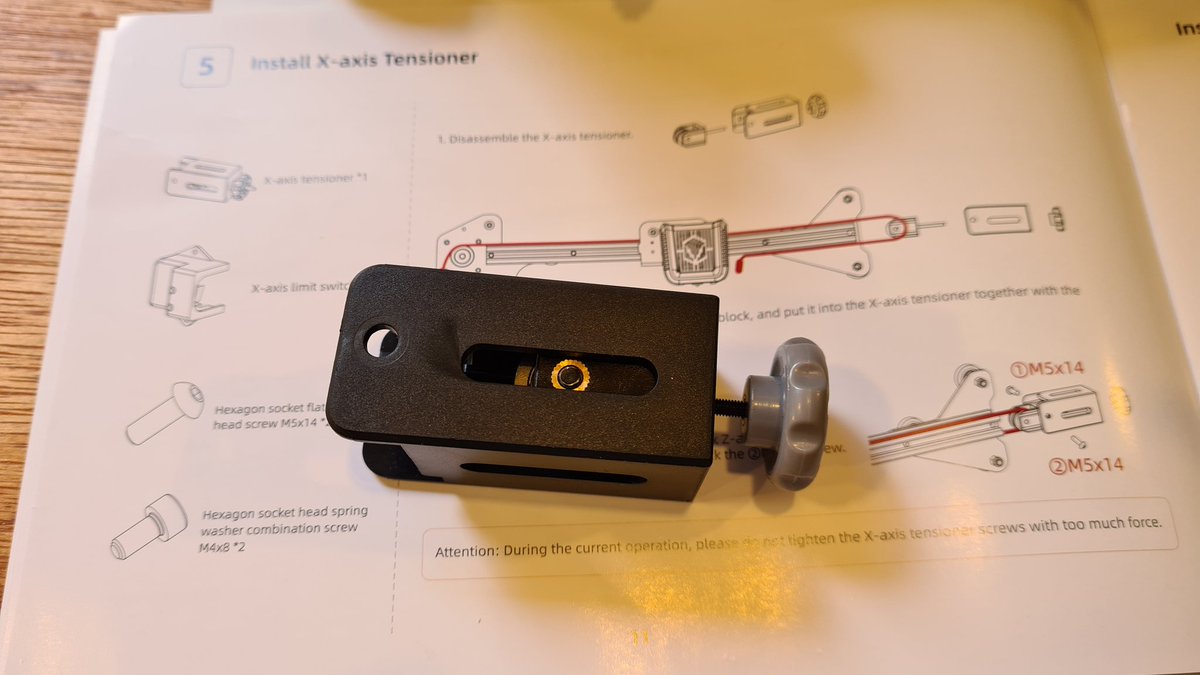

This is where they attach. Those in the know will spot my mistake straight away. The belt ends are meant to be under not over the slots. The way I did it the x axis could never reach its stop.

This is that stop switch.

This is how the belt is supposed to be fitted

That’s the cross section installed. Not much left to build!


Screen holder attaches to the side here. 4 t nuts hope it in place.


The screen simply plugs in and clips into the holder. So simple.


Spool holder attaches to the top in much the same way as the screen


First switch on.
Will it explode?!
The glass bed needs cleaning. IPA and a paper towel removed whatever this yellow gunk is.


With the bed adjusters fully wound in (lots of recommendations to do so) the bed fouls this motor. I intend to upgrade the bed springs to something better eventually so I’ll have to put up with it slightly higher for now.

Need leveled. The old fashioned way. I’m used to auto bed leveling. I’ll try to live with manual for a while. As long as I don’t have to adjust it every couple of days like the Anet…

*Bed levelled!🙄
First print is using the supplied pla and a test print from the supplied sd card.
First impressions are good. The bed looks really nice. The stepper motors are super silent. And the fans ARE SO BLOODY NOISY!!
While it prints I’m ordering some replacements.
An in progress clip
And it’s done!
I’m so impressed by this. The quality is streets ahead of my old printer. I can barely tell the difference between the top and bottom layers!


Today I upgraded the firmware to a custom one. The big feature I’m interested in is manual mesh bed levelling.
It also turns the display to portrait so I’ll need to print a new bracket for the screen

But before I can print anything useful I’ve got lots of calibrating to do.
First xyz cube is printing.

This is printed using the bog-standard ender 3 v2 Prusa slicer profile and the settings for generic pla.
It looks perfect to me!

Grabbed a few minutes to print out some of these s calibration tests. The last pic shows I really do need to run through a full set of tuning. @leelegionsmith has pointed me in the right direction.

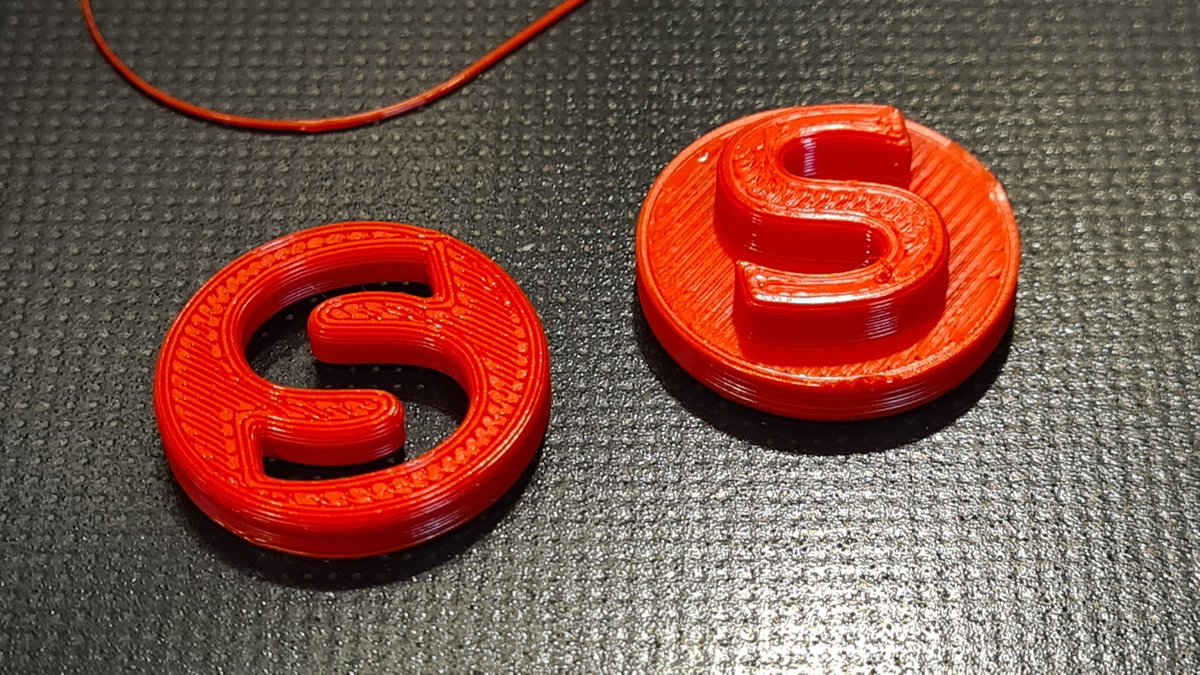

Spent last night running through most of the calibration steps on the https://teachingtechyt.github.io/calibration.html
website.
Amazing resource I wish I’d had with my first printer.
This cube is a baseline created with no optimisation. Still better than my old printer!


This test is for measuring the width of the extrude material. It’s set to 0.4mm so that’s spot on.
The only thing I’ve needed to adjust is the amount the extruder feeds. It was set a little low.


And a test to set the temperature for this red pla.
I’ve barely had to change a single thing on this printer. The prints out of the box are plenty good enough for me.
I’ll print a benchy later today and then get back to tinkering with old stuff again 😉

A little update. Before on the left. I did enable ironing for the top surface on the right. Never used it since it first became a thing…
Looks pretty good!

I promised a benchy today!
Oh.
Well that didn’t go as planned!
Need to level the bed again. Have been moving the printer about. Not sure how long I’ll last without a auto bed leveling sensor.

Originally tweeted by More Fun Making It (Lee) (@ZZleeZZ) on 9 September 2021.